
After using an application like Postman for a while, I’m always still pleasantly surprised when I stumble upon particular features that I never knew were included in the native application. Postman comes with many cool features out of the box and one that’s included is an awesome ‘time saver’.
The Pre-request Script and Tests tabs are like a mini JavaScript playground and expand on the already amazing things that you can achieve with the tool. when testing Restful APIs. I’m a fan of JavaScript and being able to use my limited knowledge of that language within Postman has been a huge help to me, what I’m not a fan of is working with anything date and time related using native JavaScript – It’s just painfully horrible and sometimes confusing.
I’m always creating little Node.js applications and helper tools to assisting my testing, to help produce things like a ton of test data, far quicker than I can manually. Some of this data includes dates and times in all different kinds of formats – I make use of the moment.js library, this is just an awesome utility module that reduces the pain of working with anything time/date related.
I was very pleased several months ago, when reading through Postman’s documentation, to discover that this awesome module comes built-in with the native client! Win!
How to start using moment within Postman?
If you’re familiar with Node.js and the way that you reference external modules in your scripts, you’re basically halfway there…If not, don’t worry its super simple – all we need to do is write the following line in the Pre-Request Script or Tests tab, depending on where you would like to use it.
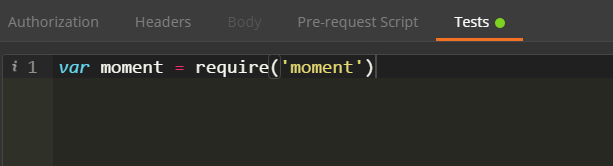
Postman already knows what the moment module is so we don’t have to install this and save it anywhere, we are just basically telling the application that we’d like to make use of this within our test script. Now that we have made the reference to the module, we can use the ‘moment‘ variable to access all the awesome features!!
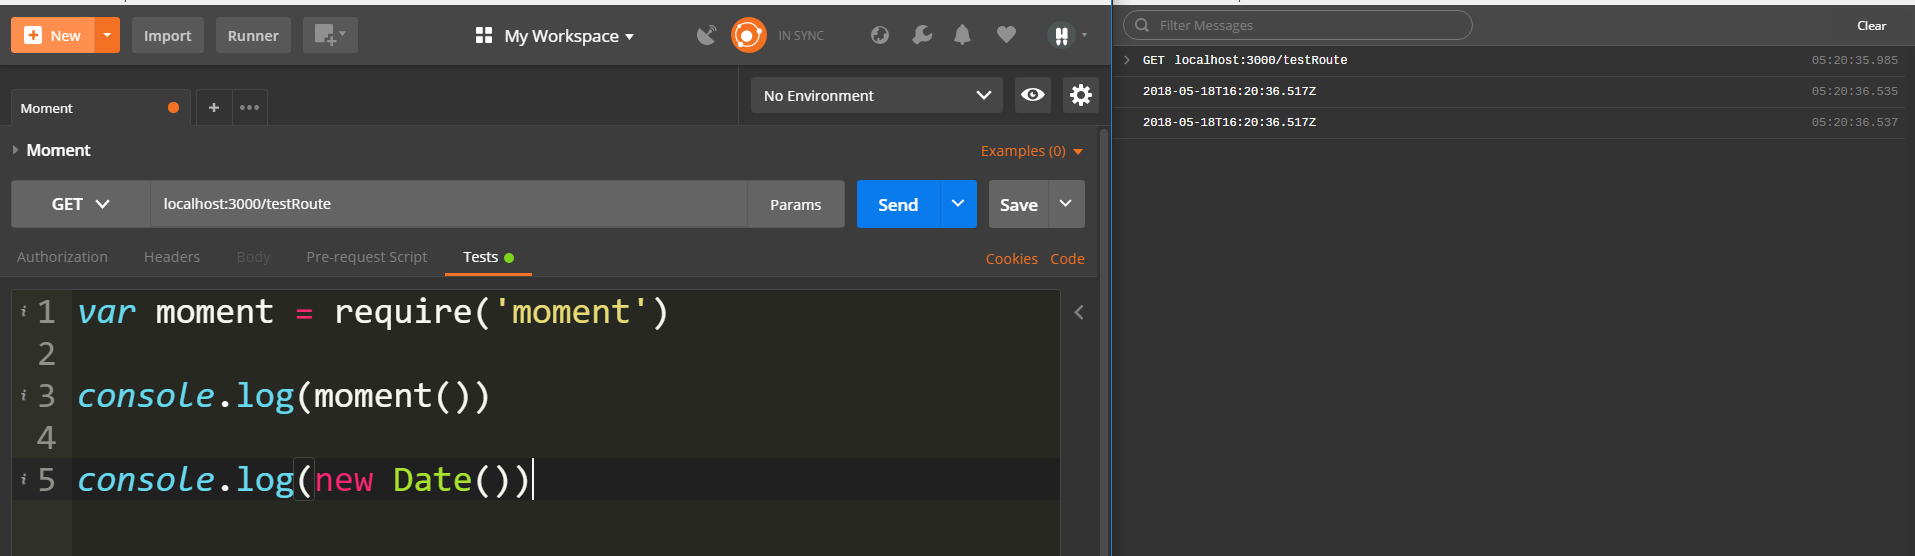
I’m going to show you a few ways that you can use this within your requests to give you a flavor of what you could do with it and once you’re comfortable with the syntax, you can start to explore the documentation a little bit more and find some new cool ways to start making use of this in your own context.
To be honest, if all you’re after is an ISO date format, there is no real benefit bringing in the external module – This example would create the same time object using either the native JS or the moment way.
Where I feel moment brings value is when you want to add some formatting to the time object to suit a specific endpoint when POSTing data or you need to add a start or end time to a URL parameter filter etc. The way that moment chains the different functions together makes it easier, as a human, to read the syntax and have an instant understanding about what it’s actually doing. I don’t personally feel that you get this when using the native JS syntax.
Formatting the time object is very simple using moment – There are lots of different options available to use, a full list can be found here. I’ll show you a couple of options below:

This shows a selection of different formats that can be easily created – There are far too many combinations to show you here but their should be something in their to suit your needs, when making requests in Postman.
I mentioned that we might want to add some time values to certain URL parameters, for our requests – The image below shows this can be done using the ‘add‘ and ‘subtract‘ functions, this is all chained together to make things easy to read.

This is shows a time value created in 3 different ways – 10 minutes in the past, now and finally 10 minutes in the future. I’m just using ‘minutes‘ in this example but this could be seconds, hours, days, weeks, years etc.
All the basic examples have just logged these values out to the Postman Console, let’s quickly look at how we could use this on the requests that we are making. The best way is to store these as either an environment or a global variable – Once saved, you will be able to reference this value and use this within the different parts of your request.

This example creates a Global variable with the moment ISO date time as the value – This was created after the request so it’s not that useful but if we were to add this to a Pre-Request Script, which executes just before the main request, we could reference this value in a POST request body.

The same method of creating variables, this time an environment one, could be used in the Pre-Request Script to create some dynamic URL parameter filters.

This example would create the variables before the request is sent and it will use these 2 time object values in the URL parameters which would, in theory, give you a 1 hour time window.
These are very basic use cases but hopefully this will give you an idea of how and where you could use the moment module in Postman for all of your time based needs. If there is anything that you’re trying to achieve and you’re still unsure of how this all pins together – Please feel free to add a comment or you could reach me @dannydainton on Twitter. I’m always happy to help out.
I’m still currently adding different Postman related content to this GitHub repo, hopefully some of this infomation is useful to you. It’s an ongoing project so it will never be a ‘finished’ resource.

Very nice, thanks Danny!
But you should definitely make pictures clickable, it’s very hard to understand anything on the right side 😦
Ah my bad…I will sort that out. Apologies.
Great tip for date manipulations, Danny. Thanks for writing this down!
Awesome!
Could you please add code snippets of what is writen in Pre-req. and Test pane?
Can’t copy-paste from screenshots ))
Thanks for pointing that out 🙂 I’ll get round to doing that at some point 🙂
To be fair, there’s not a great deal of code there and it’s be repeated for demo purposes 🙂
The only thing to really do is add this to the top of there test script:
let moment = require(‘moment’)
The actual moment syntax is basically coming from https://momentjs.com/docs/ which is full of code snippets 🙂
Thank you!
Great article! It help me a lot! Thanks!